Especially at the beginning of building a new website or blog, it is hard to get good first backlinks. An important way to generate first backlinks is through social networks and social bookmarking services like Diigo.com. The advantage is that you can create these backlinks yourself without paying a lot of money or sending hundreds of emails.
Of course, a self-made backlink from Diigo.com is not as valuable as a backlink from the New York Times or Columbia University – but these are almost impossible to get, especially in the beginning. Not to mention that such backlinks would also look suspicious in Google’s eyes.
It’s like with your first blog posts: You tackle the low-hanging fruit first before moving on to the meaty but hard-to-rank topics. And social bookmarking in particular is ideal for this, as it lays the groundwork for promoting more valuable backlinks more quickly later on.
But how to get free dofollow backlinks from Diigo.com?
You can generate dofollow backlinks from Diigo.com by following these steps:
- Sign up for a free account on diigo.com.
- Add bookmarks to your website or blog.
Backlink Summary
Site: Diigo
Type: Social Bookmarking
Domain: diigo.com
TLD: .com
Link Type: DoFollow
DR: 86
Niche: General
So, with these two simple steps, you will get dofollow backlinks from diigo.com.
As with all other backlinks, these are of course not immediately visible to Google, Ahrefs or Semrush. Depending on the age, it can even take quite a long time until these new backlinks are found.
However, you can speed up this process by publishing the link to your Diigo.com page on other social bookmarking sites such as lasso.net, start.me, Protopage, solo.to or AllMyFaves. And you should also post the link to the page on social media platforms like Twitter or Facebook.
How to Get Free Dofollow Backlinks from Diigo.com (DR 86)
Let’s take a closer look at the individual steps now. We’ll go step by step through the process you can use to create your backlinks.
1. Sign Up for a Free Account On Diigo.com
Start by visiting the Diigo.com homepage. There you simply click on “Sign Up” in the upper right corner to get to the sign-up page.
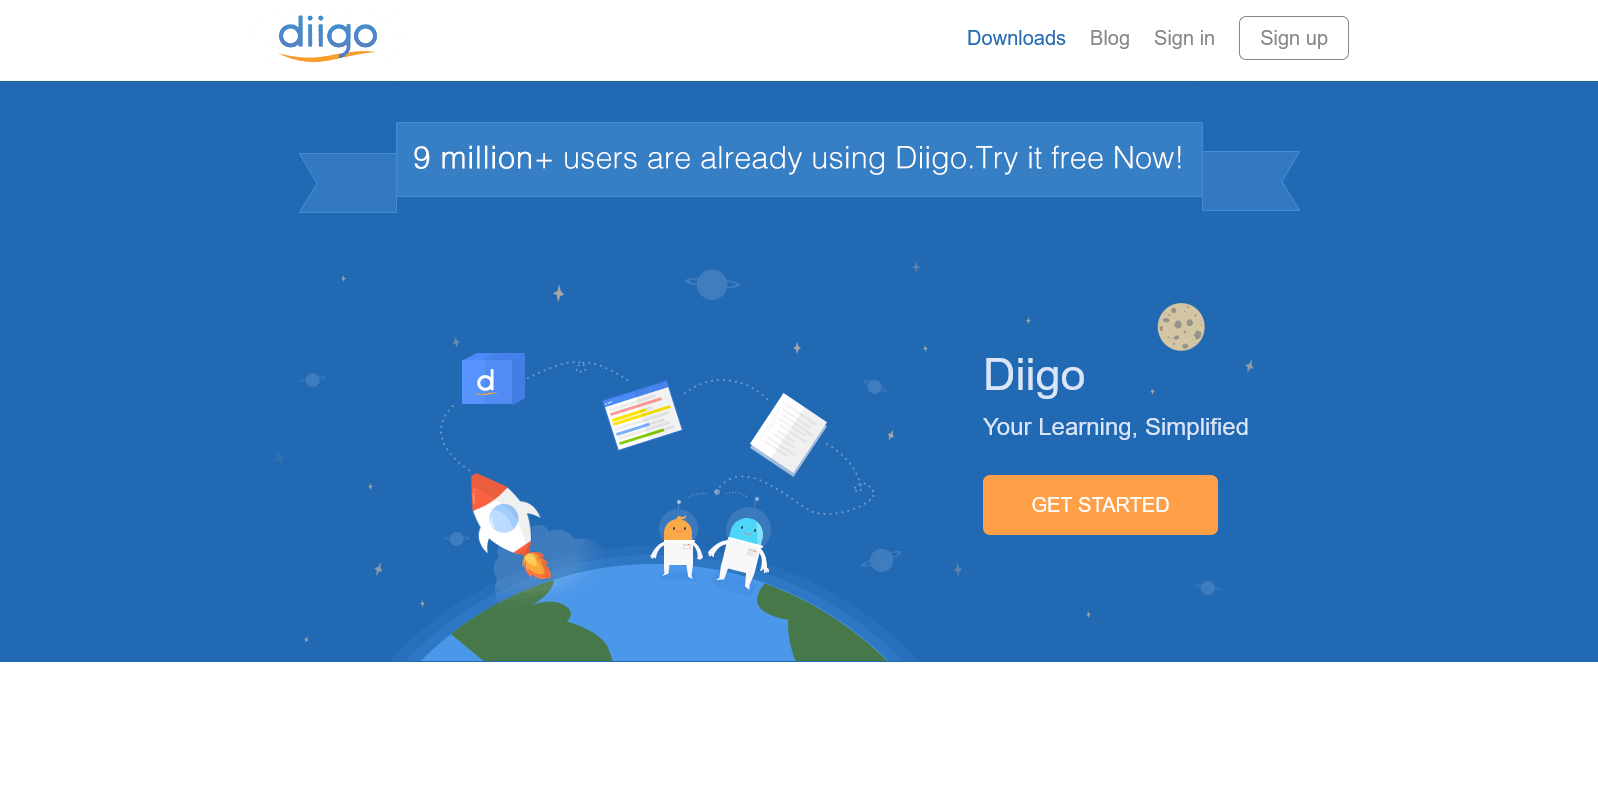
Diigo.com offers several plans. The cheapest option is the free plan, which is perfectly sufficient for our purposes. With this plan, we can manage up to 500 links.
There are also paid plans that can manage any number of links. The prices for the paid plans start at 40 USD per year. However, as I said, this is not necessary for our purpose.
So, in the “Free” column of the price comparison table, click “Choose plan” to use the free variant.
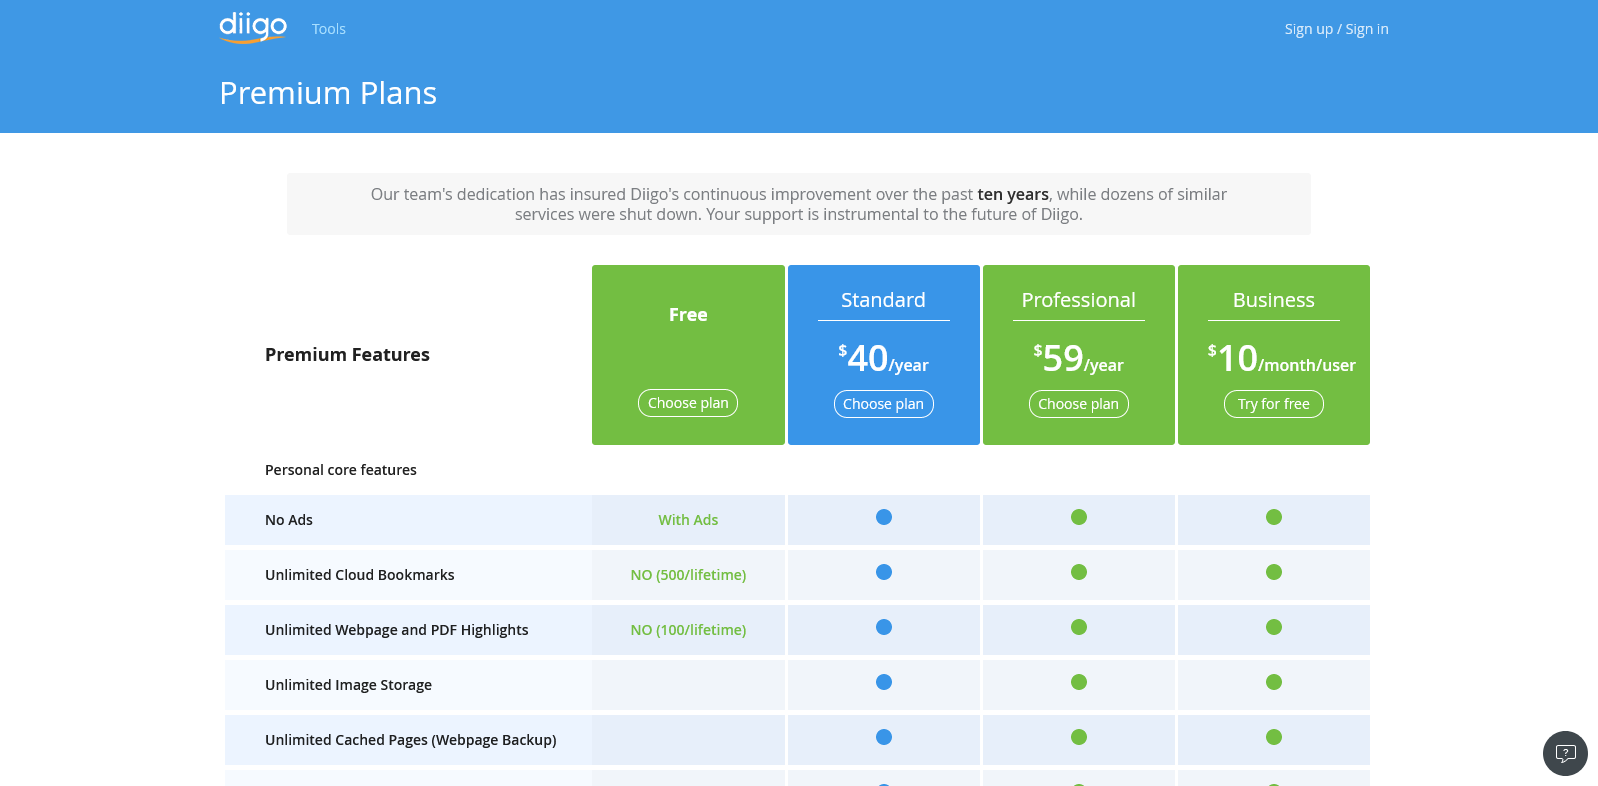
Registration at Diigo.com is possible only by means of an e-mail address. Registration via a Google account or similar is not possible.
First, choose a username, then enter your email address, and choose a password. You may also have to solve a captcha before you can register.
Then click on “Create Account” to create your account. You will then receive an e-mail to the e-mail address you have chosen. Click on the link in the email to confirm your email address and complete the creation of your account.
Great! Now that we have created our account at Diigo.com, we can start creating backlinks.
2. Add Bookmarks to Your Website Or Blog
As you can see, your home page at Diigo.com is packed with bookmarks and looks relatively untidy. So let’s start by removing these unnecessary bookmarks.

To do this, click on the icon with the three stacked dots to the right of the bookmarks and select the “Delete” option from the context menu. Repeat this for each item in the list until you see the message “There’s no item!”.
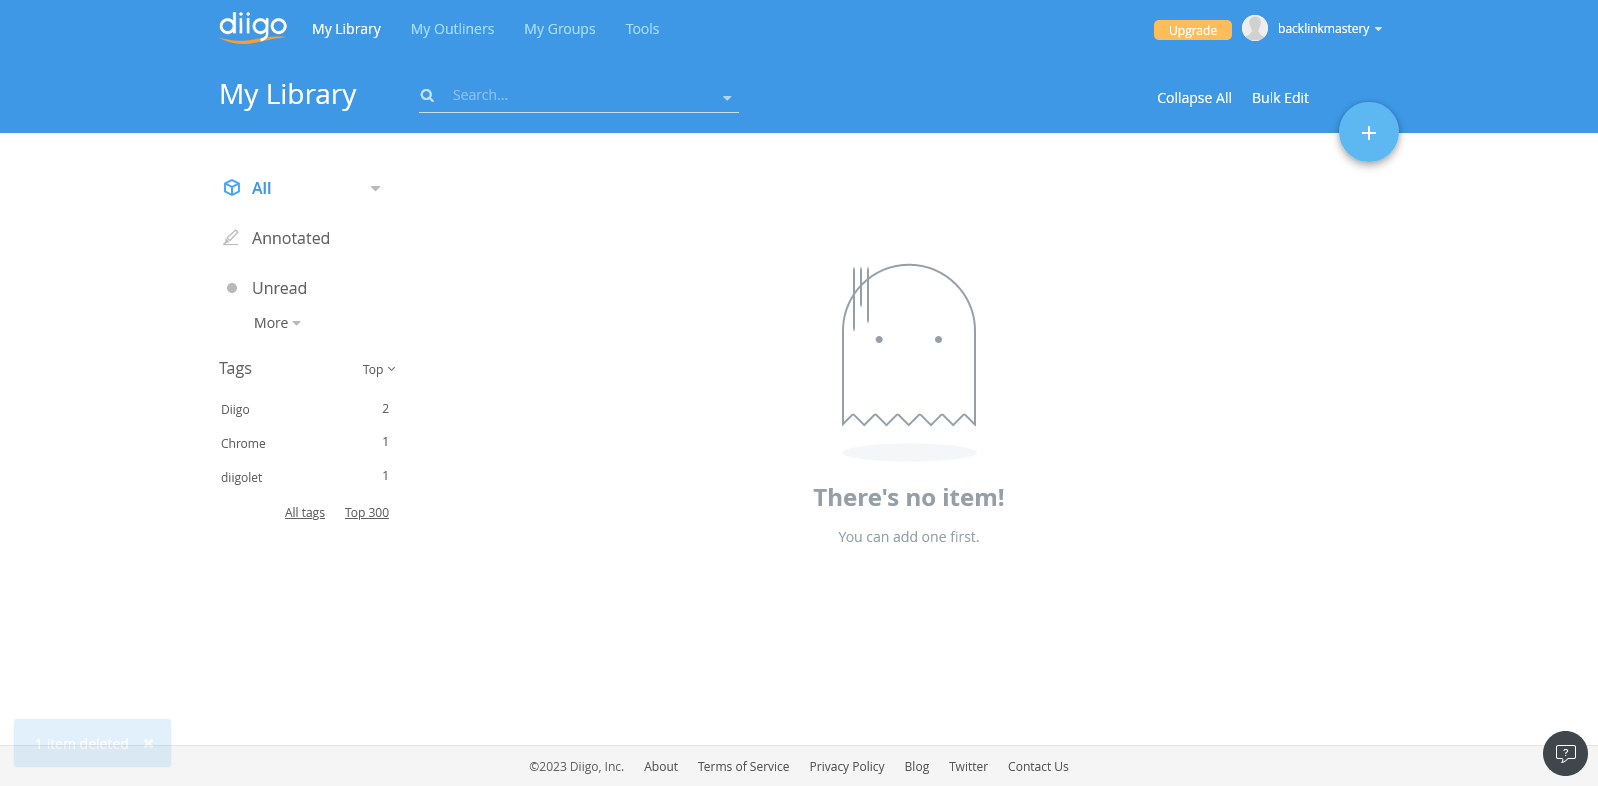
This way the page looks much clearer, doesn’t it?
So now let’s add our backlinks. To do this, click on the large plus symbol with the blue background at the top right.
A context menu opens where you select the top icon, the window icon with the blue background.

In the dialog that opens now, we can enter the data for our first backlink at Diigo.com.
Enter the URL to your website and give it a title. If possible, use a meaningful title, because this will be the anchor text of the backlink.
You can also enter a description of the backlink or bookmark and specify tags. However, both are not really necessary and do not provide any benefits for the backlink.
Do not check “Private”, otherwise, search engines and backlink analysts like Ahrefs or Semrush will not be able to find the link.

Now click on “Add” to finish your first backlink at Diigo.com. The backlink will show up in the list of bookmarks we cleared earlier.
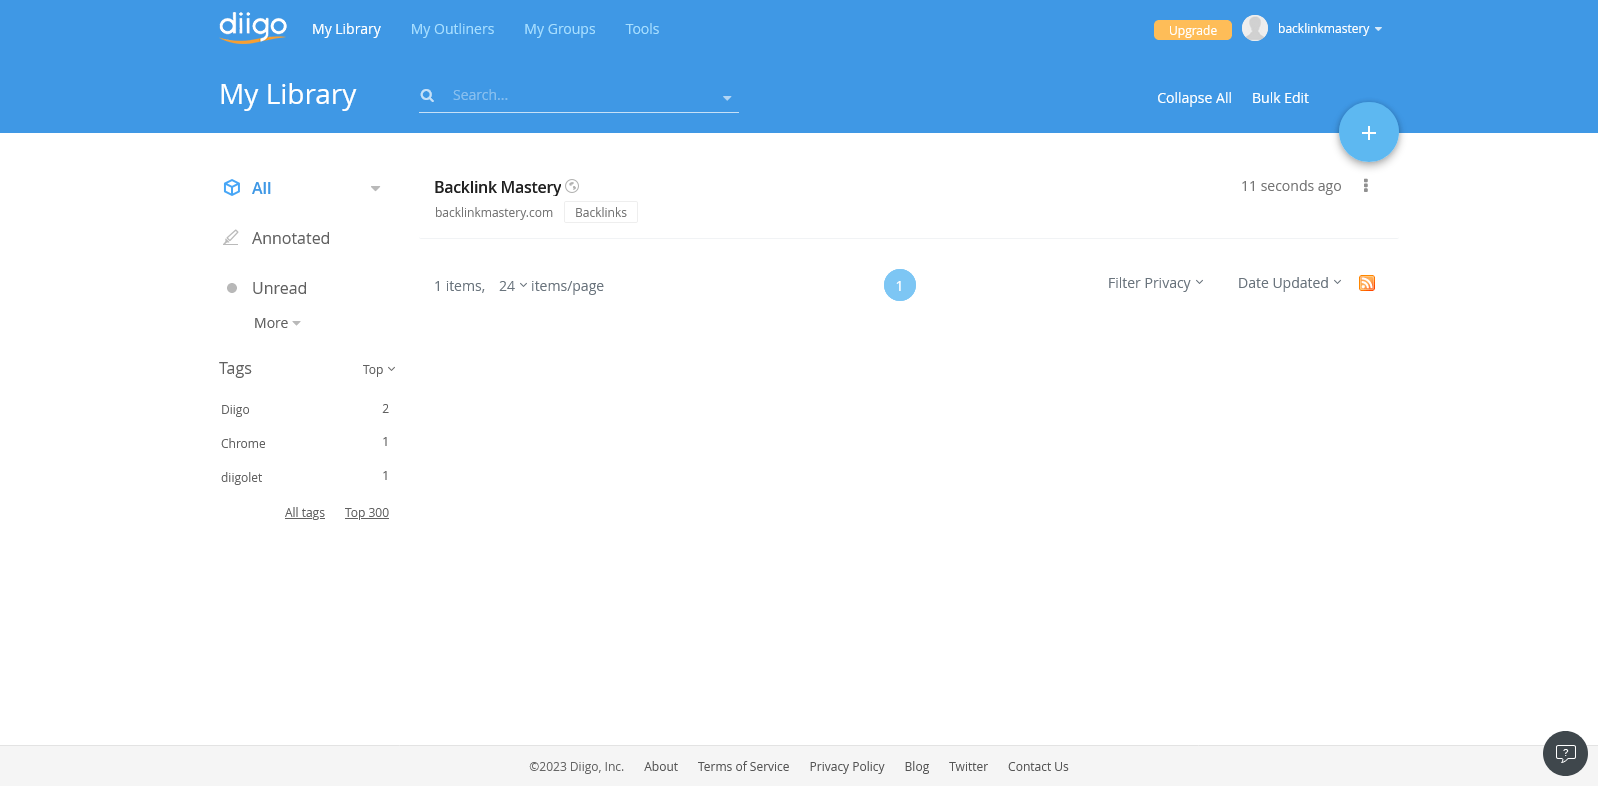
Congratulations, you have your first backlink on Diigo.com!
Now you can add more backlinks if you want. These can be, for example, backlinks to single important pages of your blog, or links to your profiles at other social bookmarking providers like lasso.net, AllMyFaves, or Linktree, or to your social media profiles for example at Facebook, Twitter, Pinterest, or YouTube.
If you haven’t created profiles at other social bookmarking providers yet, now is the time to change that. Use as many of these providers as possible to get more dofollow backlinks and link your individual profiles. This way they will be found faster – and your backlinks can have their effect faster.
So remember the URL of your Diigo account. You will use it more often later. By the way, the URL of the Backlink Mastery account at Diigo is https://www.diigo.com/user/backlinkmastery if you want to take a look.
Check out our site, we have more guides on how to create free dofollow backlinks from social bookmarking providers!
What is Diigo.com?
Diigo.com is a social annotation service enabling users to annotate any web page. The company name Diigo stands for “Digest of Internet Information, Groups, and Other stuff”.
Diigo was founded in 2006 in Reno, Nevada, by Maggie Tsai and Wade Ren. Their web site has more than 800,000 unique visitors per month, mainly coming from India and the US.

