Probably every blogger knows this: In the beginning, it is not only difficult to produce good content, but also to land the first backlinks. This is the moment when social bookmarking providers like solo.to come into play, where you can create your first backlinks yourself.
Compared to other providers like Protopage, start.me, AllMyFaves, Diigo, or Lasso.net, solo.to also has the advantage that they have an even higher domain ranting of 81. So, the backlinks you create from solo.to have a little more power than the other ones.
And even though these types of backlinks no longer have an exaggerated impact on Google rankings, they still bring great benefits.
Many larger niche sites look for competitors with low domain ratings or domain authority and get inspired by their successful posts – not to say they steal the good keywords and can outrank a small site with a post of their own.
This approach goes by the name Tomb Raiding SEO, and it is quite effective. Therefore, it is important to increase your own domain rating so that you no longer fall victim to such attacks.
This is where social bookmarking providers come into play. They not only offer the opportunity to get backlinks from a site with a high domain rating but also help to spread the word about other backlinks that one has gotten. This way, backlink analysts like Ahrefs or Semrush become aware of the new backlinks faster.
But let’s get back to our actual topic: How do I get free dofollow backlinks from solo.to?
With two simple steps, you can get free dofollow backlinks from solo.to quickly and easily:
- Create a new account at solo.to
- Add links to your website on your solo.to profile
Backlink Summary
Site: Solo.to
Type: Social Bookmarking
Domain: solo.to
TLD: .to
Link Type: DoFollow
DR: 81
Niche: General
And with that, you will have good new backlinks to your website, niche site, or blog.
These backlinks don’t help too much in Google ranking, but they help a lot in appearing as a website with higher authority than you actually have in the beginning. And in this way, they can help prevent keyword theft.
But now, let’s take a closer look at the steps to get free dofollow backlinks from solo.to.
How to Get Free Dofollow Backlinks from Solo.to (DR 81)
As we have already seen above, it only takes two simple steps to create backlinks from solo.to.
1. Create a new account at solo.to
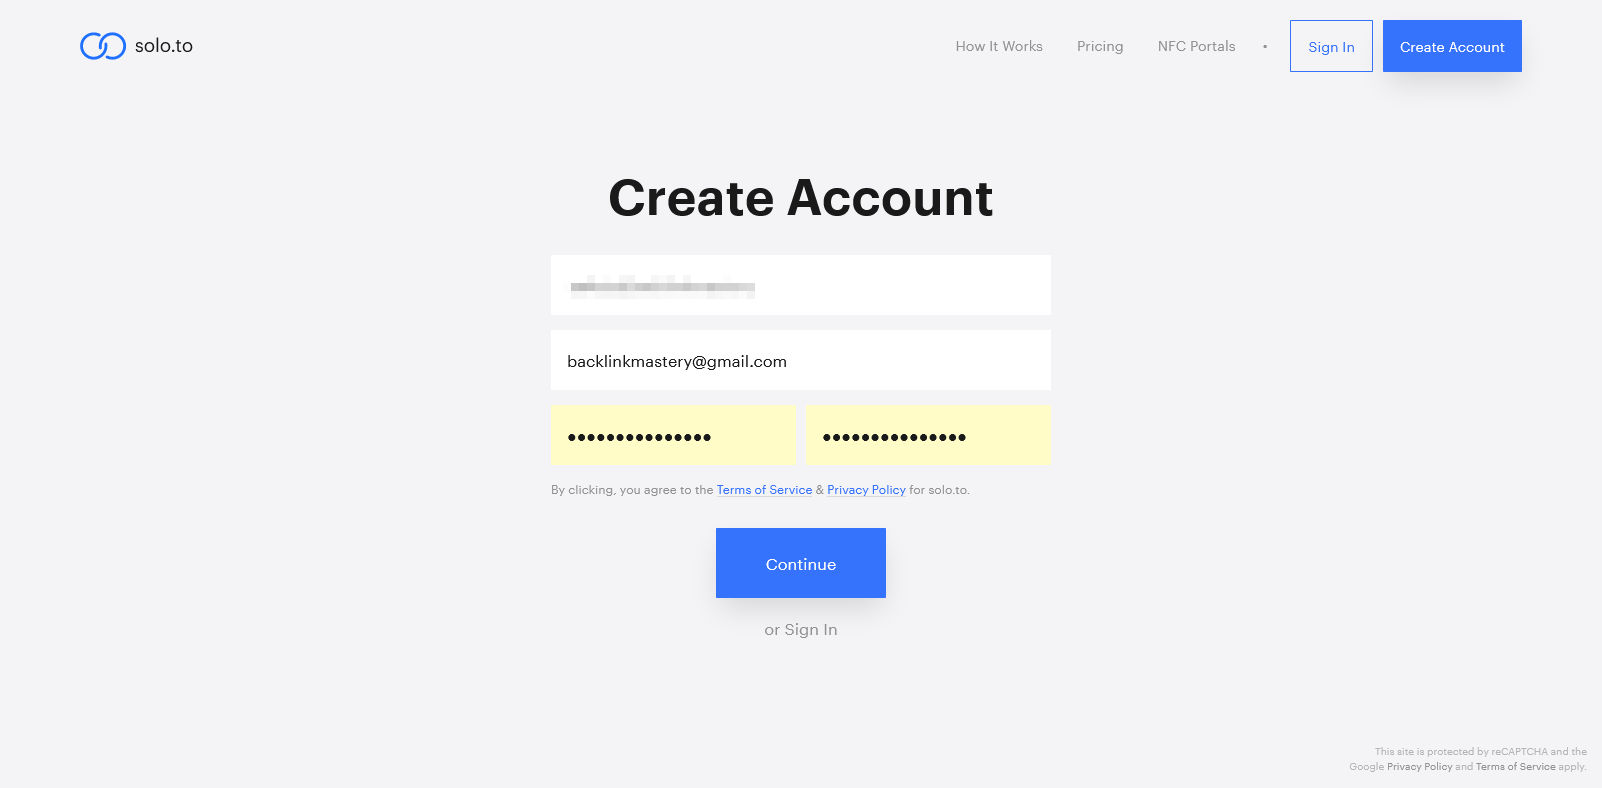
The first step is simply to create a new account at solo.to. To do this, navigate to the solo.to home page and click on “Create Account” in the upper right corner.
Unlike some other social bookmarking providers, solo.to only allows you to register with your email address. There is no option to register using a Google account or Facebook account.

In addition to your e-mail address, you only need to specify a name for your account and a password. No other data is requested for registration. However, you can specify your name, location, and more later if you want to.
After clicking “Continue”, you will be taken directly to your solo.to page. All you have to do is click through a few explanatory notes that show how to use solo.to and you can start creating your backlinks.
2. Add links to your website on your solo.to profile
The site itself looks nice and tidy – and it really is.
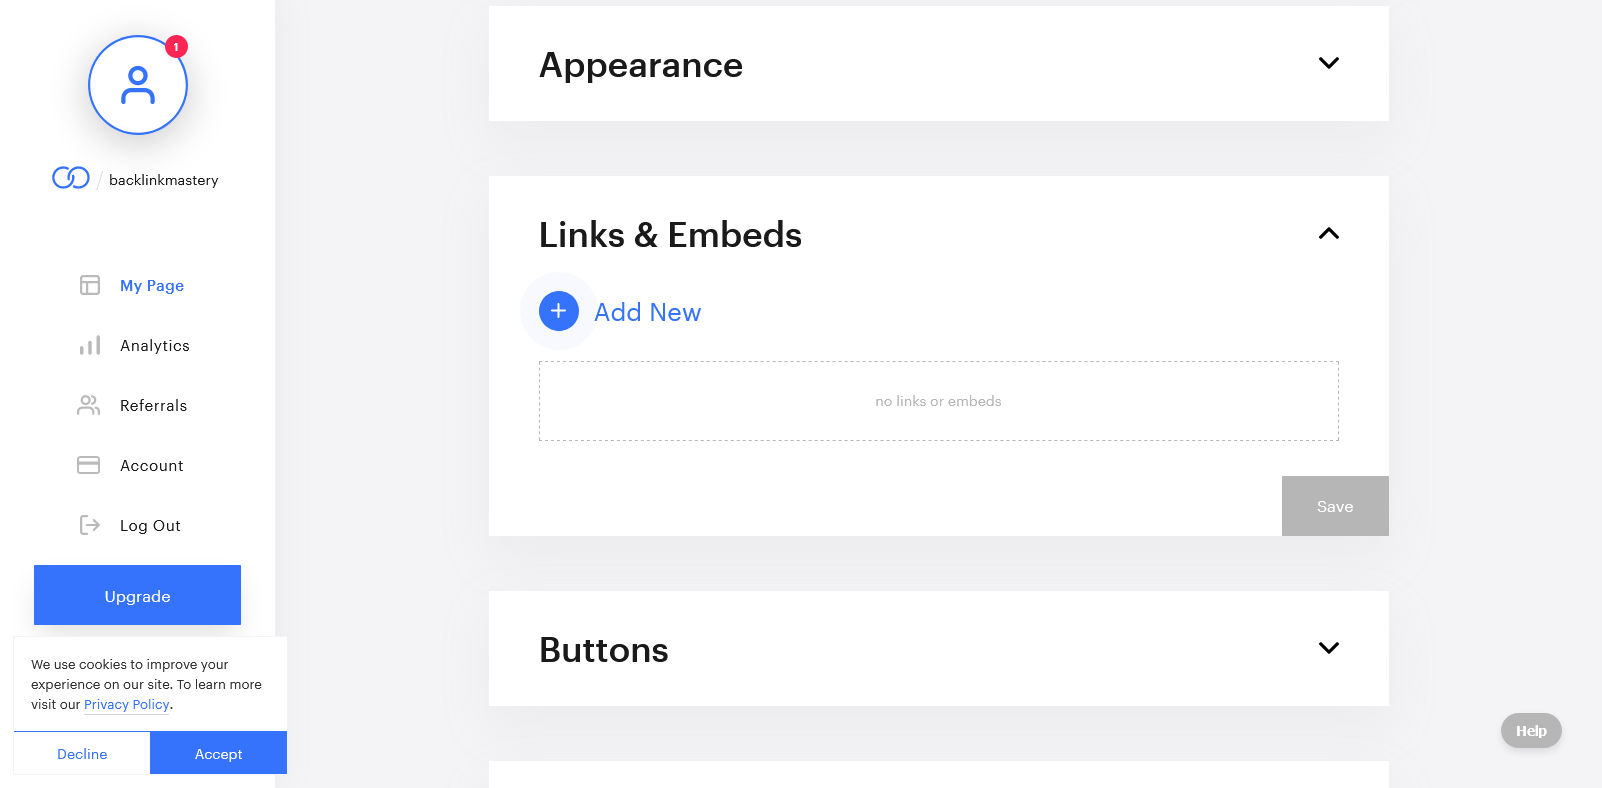
At the top of the page, under the title “My Page”, you will see the link to your solo.to page. You can later add this link to your other social bookmarking pages, so that Google, Bing, Ahrefs, Semrush, and others can find your solo.to page more quickly.
For Backlink Mastery, this is simply solo.to/backlinkmastery.
Scroll down a bit until you see the item “Links & Embeds” on the page. This is the place where you create your links.

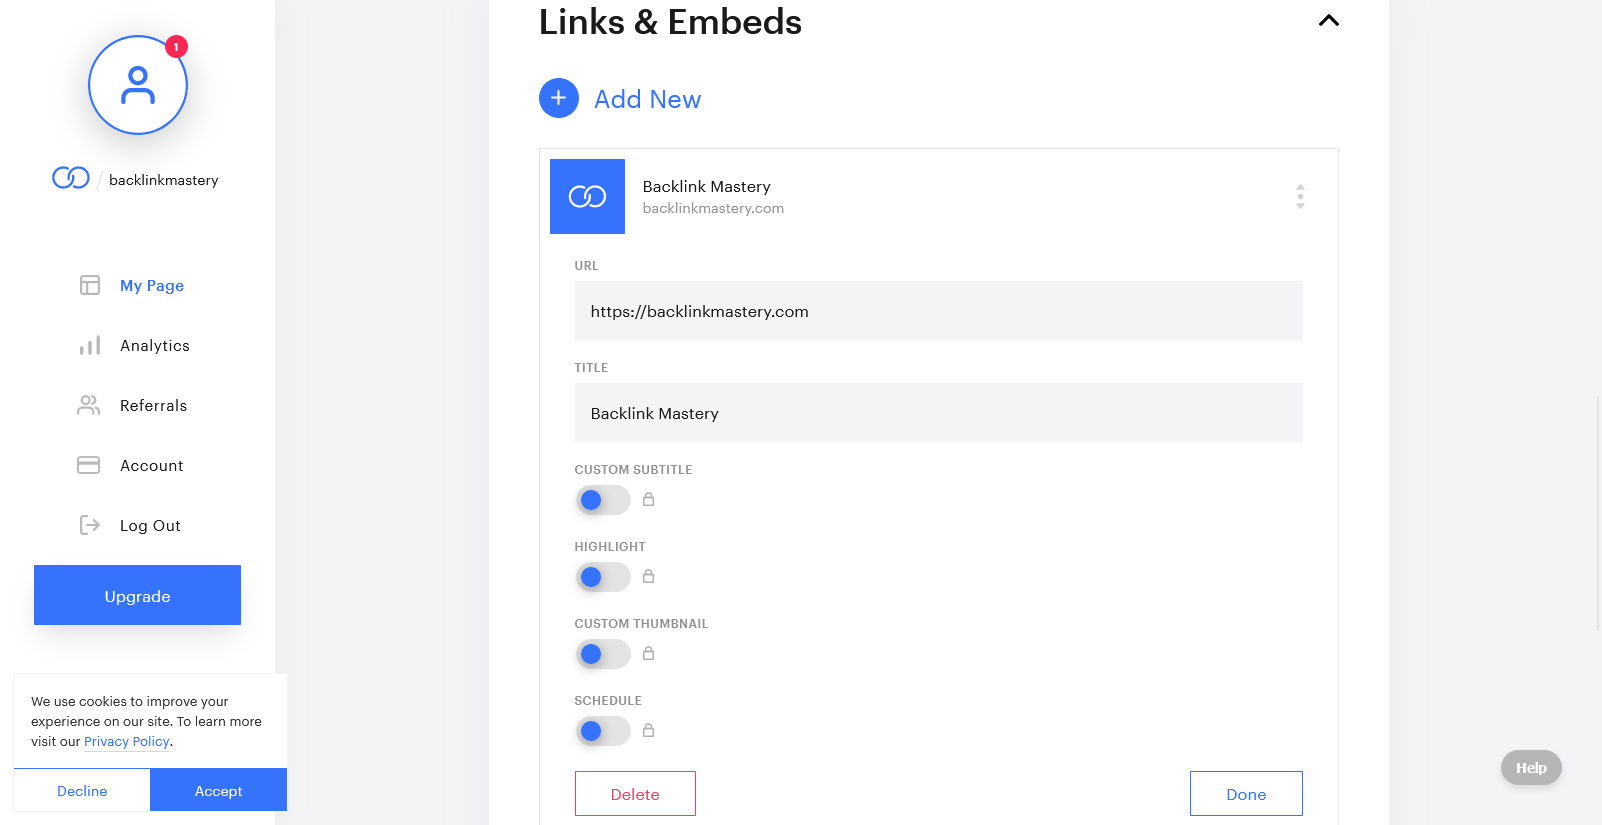
Now just click on “+ Add New” to create your first backlink. Select “Link” from the selection dialog and enter the URL to your website and a title in the input mask that then appears.
The title is not quite irrelevant, as this will become the anchor text of your backlink. So, it is best to choose a meaningful, relevant title for your new link.

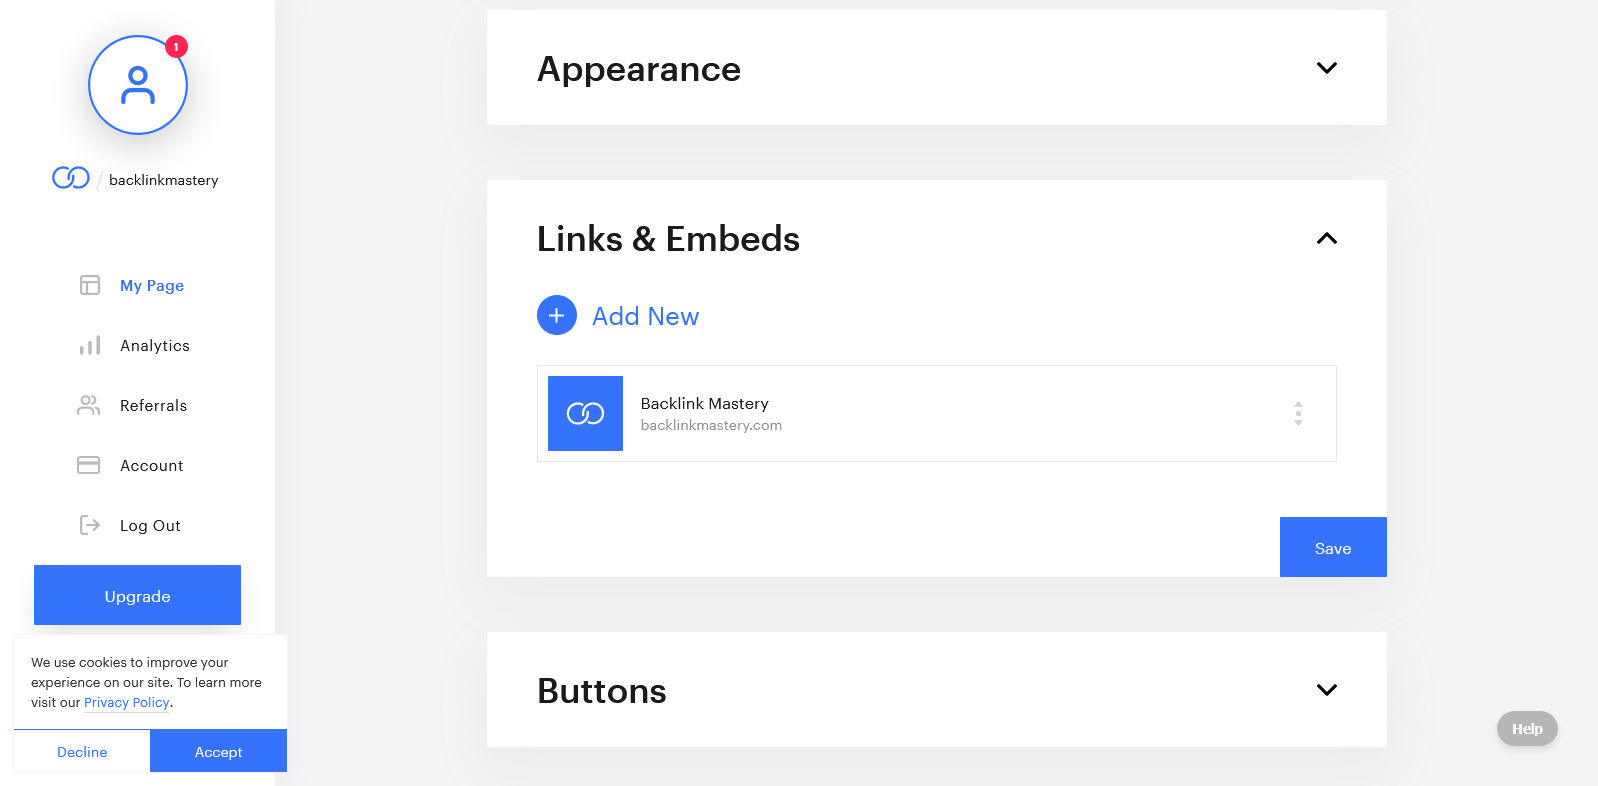
Then click on “Done” and you have created your backlink. Or rather almost created. Solo.to has a small catch, you have to save every change to the page manually. And a new link is also a change.
This becomes especially annoying later when you already have many links built in and want to add more. Namely, the button to save is located at the end of the list, so it is not directly visible if you have already created some links.
For the first few links, however, it is still visible without you having to scroll. So click on “Save” to save your new backlink.
By the way, if the “Save” button is highlighted with blue color, there is something to save. If the button is gray, then there isn’t.

And with that, you are done and have created your first backlink with solo.to! If you want, you can add as many more links as you like, be it to individual posts, to your other social bookmarking sites, or to existing backlinks you want to publicize.
However, I have to add that “as many more links as you like” is not quite right. In the free version, you can only manage up to 25 links. However, solo.to also offers affordable paid versions starting from 1 USD per month. With it, you can already manage up to 50 links.
So feel free to add more links right away. You don’t have to save after each new link, it’s enough if you do it at the end of your link maintenance.
What is Solo.to?
Solo.to is a platform to share and promote links, music, videos, and social media on one page. The service is similar to other providers like Linktree or Carrd.
The company is still quite young, it was founded in 2020 in Las Vegas, Nevada, by Eli Atkins and Michael Karr. The main focus of solo.to is to allow influencers to provide all their links in their social media bios.

